
03 / Photo Studio
Preparing branded social images in Photo Studio
How do you turn a useful photo into a readable, on-brand social image?
Published by Mobilify It, built by UpCode Studios—the team also behind The Social Scheduler (SALT Social Media). This is a first-party product showcase, not an independent review. Workflow examples are illustrative; no customer results are claimed.
A photo that looks good at full size may be hard to understand in a mobile feed. The crop can hide the subject, a text overlay can become unreadable, and a logo can compete with the message. This study looks at Photo Studio’s editing workflow and the visual checks that should happen before an image is added to a post.
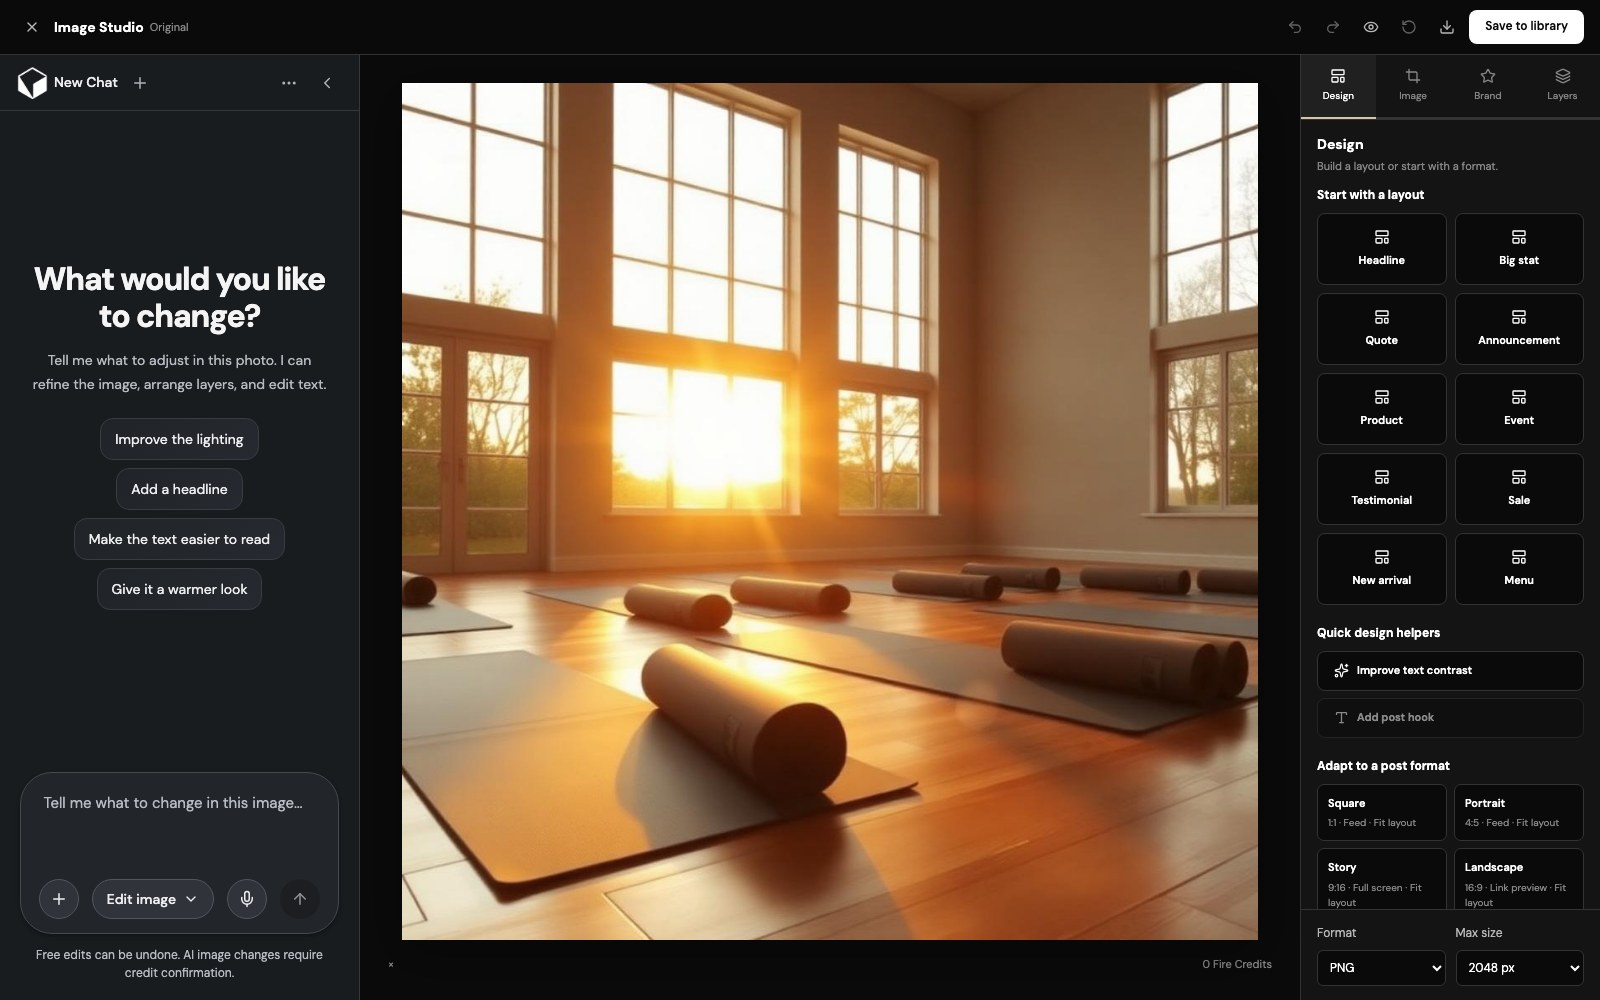
The starting problem: one image, several destinations
Imagine a business using a service photo to announce an appointment opening. A wide original image may not suit the intended social format, while putting all the details inside the image can create tiny text. The design task is to preserve the subject and make the main message easy to notice.
This is an illustrative production scenario. We are not attributing it to a client or claiming that a particular composition increased clicks or bookings.
The editing tools shown by the product
Photo Studio’s public feature page describes uploading a photo or choosing one from the media library, setting an aspect ratio, repositioning the image, and composing editable layers. Supported layer types include text, shapes, gradients, images, and brand-logo assets.
The product describes a reversible composition: saving creates a flattened copy for the post or library while leaving the source image available. That separation is useful when a campaign later needs a different crop or a corrected message.
A practical image preparation sequence
Choose a source image you have permission to use. Select the target aspect ratio and place the important subject within the visible crop. Then add only the text needed to communicate the central idea; supporting details can remain in the caption or destination page.
Use brand colors and available brand assets consistently, but keep readability ahead of decoration. Review the relationship between the subject, headline, and logo. A design can follow a brand palette and still fail if its contrast or visual hierarchy makes the message difficult to read.
Preview before saving, then inspect the saved result
The feature documentation says the canvas preview and exported image use the same renderer. Preview the composition, revisit edits with Undo where needed, and save the finished image. Then inspect the resulting media as part of the post rather than judging the canvas alone.
Local crop, text, and shape edits are distinct from AI image changes. The product’s documentation says AI changes require credit confirmation. Check the current plan and costs on the product site rather than assuming all media operations are included without limits.
Keep social artwork and website content complementary
Open the image at a realistic phone size. If the offer only makes sense after zooming, reduce the amount of text or simplify the composition. Include meaningful context in the post copy, and add appropriate alternative text where the destination supports it.
The website should repeat the offer clearly using real text rather than depending on the social graphic. For a real evaluation, track revision count, whether the saved crop matches the intended format, and whether readers can understand the message at mobile size. No measured design outcome is asserted here.
Before you put this workflow into use
- Confirm image and logo usage rights.
- Set the crop for the intended destination.
- Check text and contrast at phone size.
- Inspect the saved image alongside the final caption.
Product sources and disclosure
This first-party walkthrough was prepared from the product’s public documentation and project screenshots, reviewed November 14, 2026. Example scenarios are illustrative, not reported customer outcomes. Consult current documentation for availability and limits.
The Social Scheduler’s Photo Studio documentation